
A Pre-Writing Checklist
Categories:
1 thought on “A Pre-Writing Checklist”
Comments are closed.
Related Post
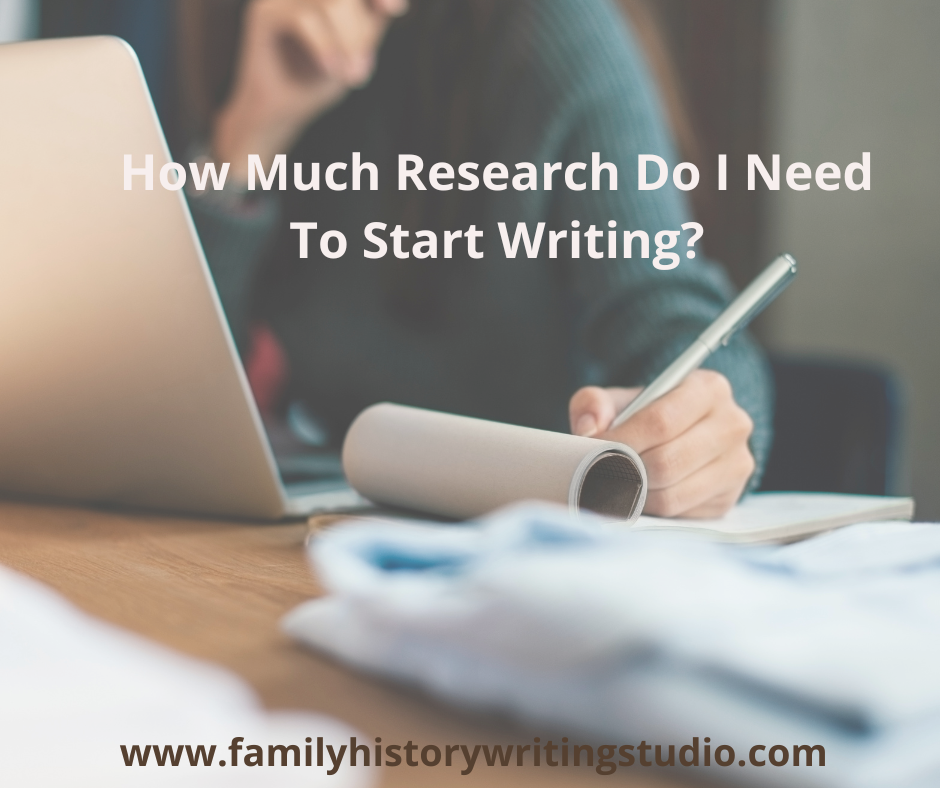
How much research do I need to start writing?How much research do I need to start writing?
As a professional family history writing coach, I understand that diving into your ancestral past can be both exciting and overwhelming. One of the most common questions I get is,

The Three Spaces to Organizing Your Family History WritingThe Three Spaces to Organizing Your Family History Writing
Whether you’ve started writing your family history book or you’re still in the ‘thinking about it” stage, the process can be a tad overwhelming. As family history writers we have
Thanks Lynn. I re-read the Getting Ready to Write workbook earlier this week. Last year was a bust for me because it was too close to finishing my first draft of my G-Grandfather’s story. I ended up writing some short posts about other family members but I could not get into a groove. This year, I worked to get my manuscript sent off for polish and layout ahead of time. Hopefully, I can make my way through the final edits before February. I have been going through my research to see if I can be inspired for the third novel in my series on my Great Grandparents. I will work through this checklist for each of the four possible protagonists to see if a plot emerges. Nothing yet.